


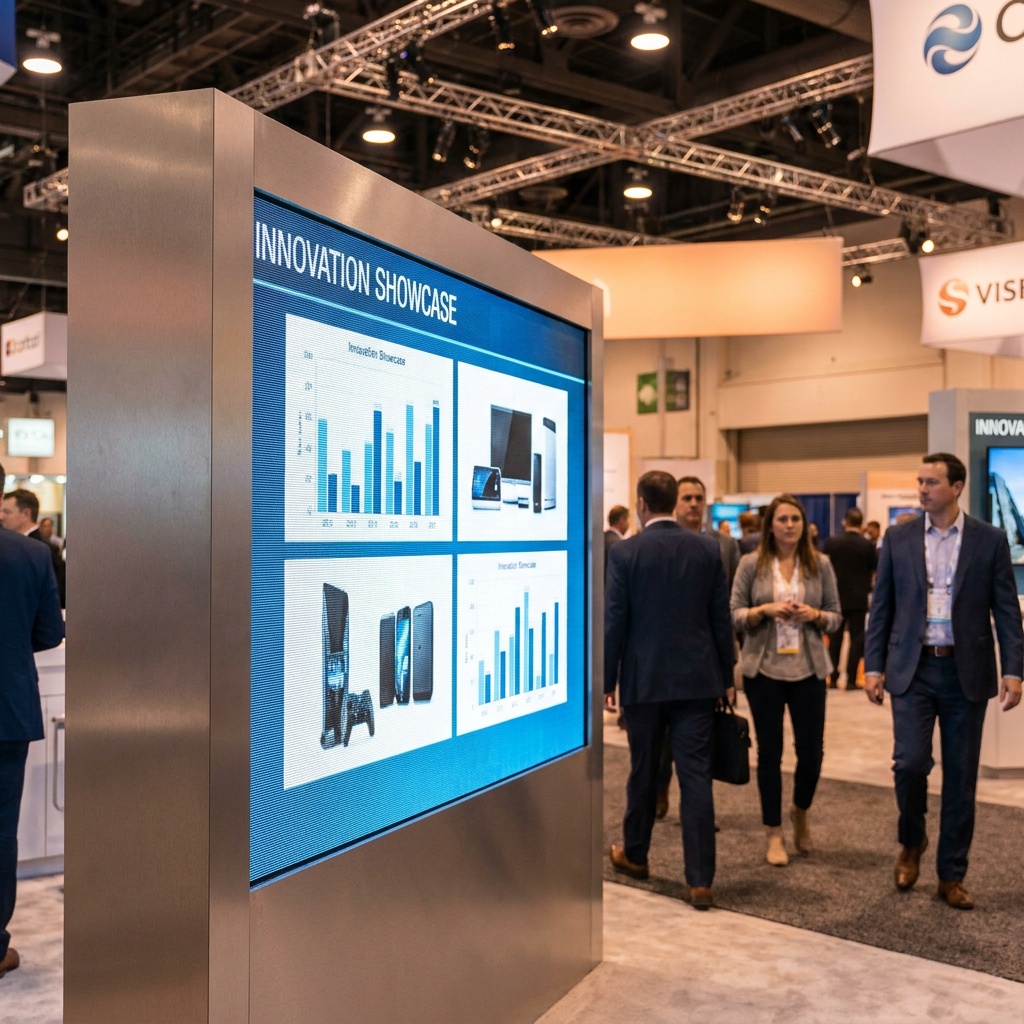
Picture a trade show booth on the second afternoon. The slideshow that’s supposed to be running on the big screen behind the reps has frozen on slide three — a half-loaded product photo — and nobody’s noticed for two hours. That’s the default fate of a PowerPoint deck left to run on its own. It doesn’t loop unless you tell it to, and it doesn’t recover from small problems unless you set it up to.
Looping a deck is one of those five-minute tasks that people get wrong because they only do it once or twice a year. So here’s the actual setup, plus the things that go sideways when a presentation has to run for eight hours straight without a human babysitting it.
The Core Setting Everyone Misses
The loop itself lives in one dialog box. Go to the Slide Show tab, click Set Up Slide Show, and check the box that says “Loop continuously until ‘Esc’.” That’s it. When the deck reaches the last slide, it jumps back to the first instead of dropping you onto that gray “End of slide show” screen.
But looping alone isn’t enough, because a looped deck still waits for a click on every slide. If nobody’s clicking, it sits there forever. You need the slides to advance themselves, which is a separate setting on the Transitions tab. Under Advance Slide, uncheck “On Mouse Click” and check “After,” then set a time. Do this for one slide, then hit Apply To All so you don’t have to repeat it 40 times.
How Long Should Each Slide Stay Up?
This is where most looping decks fail as communication. Five seconds feels fine when you’re clicking through at your desk. On a booth screen, a passerby needs time to notice the screen, read the headline, and register the point before it flips. Text-heavy slides need 8 to 12 seconds. A slide with one big image and three words can go at 4 or 5. If you have a video on a slide, the slide has to stay up at least as long as the video runs, or it’ll cut off mid-clip.
If you’d rather not guess, use Rehearse Timings (also on the Slide Show tab). It plays the deck and records how long you linger on each slide, then saves those durations. Walk through it at a realistic reading pace and you’ll get timings that actually fit the content instead of a flat number applied everywhere.
Booth Screens vs. Touch Kiosks vs. Wall Displays
“Looping” means slightly different things depending on where the deck lives, and each situation has a gotcha.
A trade show booth screen is passive — people glance at it while walking by. Here you want auto-advance timings and a loop, full stop. Keep each slide readable from ten feet away, which usually means far less text than you think and font sizes north of 40pt. Nobody stops to read a paragraph at a booth.
A reception or lobby kiosk that people can touch is different. If the screen is interactive, you don’t want a stray tap to jump the presentation somewhere weird or exit the show. PowerPoint has a mode for this called Browsed at a kiosk (full screen), in the same Set Up Slide Show dialog. It disables the normal navigation shortcuts, so a curious finger can’t accidentally close your deck or skip to the end. Pair it with on-slide action buttons if you want people to navigate deliberately.
A wall display or video wall — think a screen mounted in a hallway running all day — is the harshest test, because it runs unattended for the longest stretch. This is where screen sleep, aspect ratio, and video reliability matter most. More on those below.
Kiosk Mode Is Your Friend for Unattended Displays
The Browsed at a kiosk option deserves its own mention because it changes the whole risk profile of an unattended screen. In normal presentation mode, pressing a key, right-clicking, or moving the mouse can pull up menus or exit the show — fine when you’re driving it, a problem when the public can reach the keyboard. Kiosk mode locks that down. The deck runs, it loops, and casual interaction can’t break it. If your screen is somewhere people can physically touch the machine, turn this on every time.
One caveat: kiosk mode automatically enables looping and hides the pointer, but it still respects your per-slide timings, so you still need those set. It’s not a substitute for the Transitions timing step — it’s a lockdown layer on top of it.
The Problems That Actually Happen on Day Two
Setting the loop is easy. Keeping it running for hours is where people get burned. The usual suspects:
The screen goes to sleep. This isn’t a PowerPoint problem — it’s the computer’s power settings. Windows will dim and then sleep the display after a set idle time, and a looping slideshow doesn’t count as activity for the sleep timer. Before any all-day display, set the machine’s power plan to never sleep and never turn off the display. On a laptop, do it for both battery and plugged-in modes. This is the single most common reason a booth screen is black when you get back from lunch.
Videos don’t loop with the deck. A video that plays once and then shows a black box for the rest of the slide looks broken. Select the video, go to the Playback tab, and set it to Loop until Stopped and Start: Automatically. If your slides carry video, our guide on how to embed a video in PowerPoint without it breaking covers the embedding-vs-linking trap that causes videos to vanish on a different machine.
The deck looks stretched or has black bars. A 4:3 deck on a 16:9 screen gets pillarboxed with ugly bars, and a stretched deck looks amateur. Set your slide size to match the display before you build — Design tab, Slide Size, Widescreen (16:9) for most modern screens. Fixing aspect ratio after the fact means every element shifts, so do it first.
Fonts change on the display machine. If the computer running the booth isn’t yours, a font you used may not be installed, and PowerPoint will silently swap it for something that wrecks your layout. Embed the fonts (File > Options > Save > Embed fonts in the file) or stick to standard system fonts. Microsoft’s font embedding guide walks through it.
Sound: On or Off?
A looping deck with audio can be great or maddening. At a quiet reception desk, background music heard for the fortieth time will drive the staff to unplug it by noon. On a busy show floor, a short audio sting when a key slide appears can pull attention. Decide based on who has to sit near it all day. If you do add audio and want it to play across slides rather than cutting off at each transition, our walkthrough on adding background music to PowerPoint shows how to set a track to play across the whole loop.
A Cleaner Alternative: Export to Video
Here’s the option a lot of people skip. If your looped deck has no interactivity — it’s purely a passive screen — you can export the whole thing to an MP4 (File > Export > Create a Video) and play it in a media player set to loop, like VLC. A video file can’t freeze on a half-loaded slide, doesn’t depend on the right PowerPoint version being installed, and won’t throw a dialog box if something hiccups. The tradeoff is you lose live editing — any change means re-exporting. For a screen that just needs to run reliably for three days, an MP4 on loop is often the more dependable choice, and it’s worth considering for booth work especially.
Make the Looping Deck Look Deliberate
A last thought on the content itself. Decks built for a person to present are usually wrong for a screen running on its own — too much text, too many builds, jokes that need a voice behind them. A looping display deck should read like a series of posters: one idea per slide, strong visuals, minimal words, colors with enough contrast to read across a room. If you’re starting from scratch for a display, our presentation color schemes guide and the template collection are good places to pull a high-contrast look that holds up on a big screen.
And test the whole loop once, start to finish, on the actual machine it’ll run on — not your laptop. Let it cycle two or three full times while you watch. Nine times out of ten, that’s when you catch the video that doesn’t restart or the slide that flips too fast. Two minutes of watching beats two hours of a frozen screen at your booth.